

Hello Lockdown buddies,
So we are all staying home together and hopefully staying safe and sane. It’s so strange to see the things that people are now buying (jigsaw puzzles, Monopoly) and new hobbies they are adopting to keep themselves busy. Not to mention, the number of people shaving their heads or panicking about not being able to get to a hairdresser! Howe funny life is! Also how busy online shops have now become, due a combination of less staff and more orders! Incredible isn’t it? Next day delivery is a thing of legend and now it will take about a week or so to process someone’s order or if you need to order groceries, expect to wait about three weeks for a free slot!
Luckily for me, and probably most of you crafty folks, I haven’t had to buy anything since I already have plenty of hobbies to keep me busy and plenty of supplies. What I have been doing though is trying to finish off projects that I started and never got done for one reason or another, or in this case, using up some of my Gelli print backgrounds I made last year and actually turning them into projects. These particular backgrounds can be seen in more detail in this post from last September, when I got carried away and made a bunch of them, with no plan of what to do with them all! That post also has a handy little flip through video of all of them!

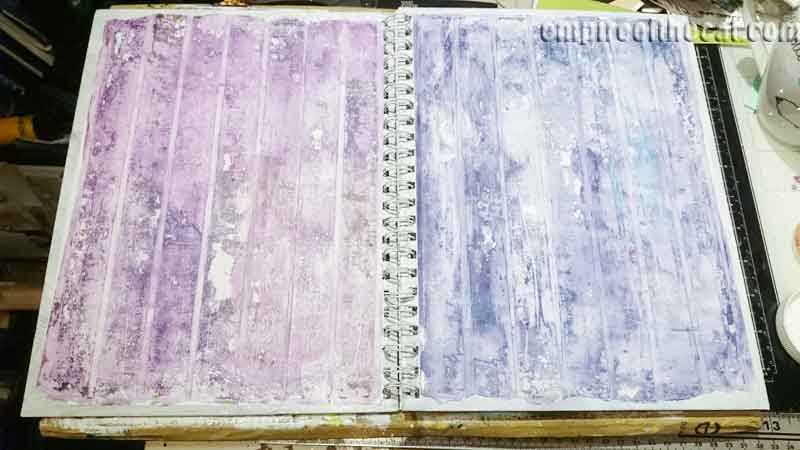
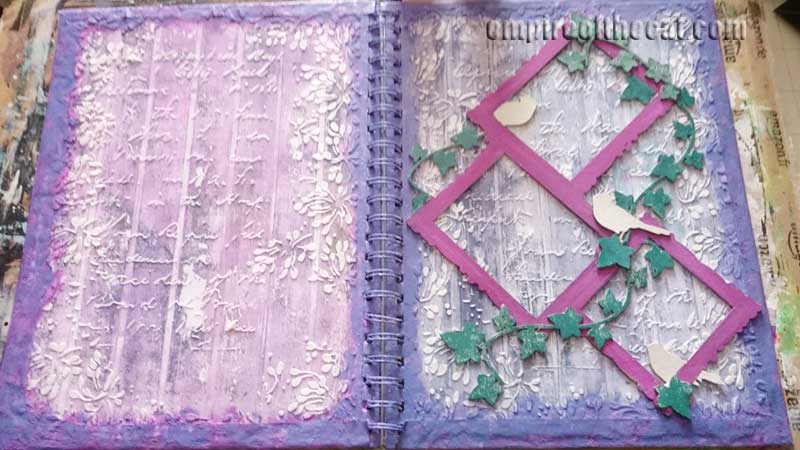
I have gradually been using up some of them but I loved some of them too much to start hacking them up so I wanted to keep them for something where I could use the full page. For this sketchbook cover, I am going to be using the one on the right in the photo below…
and the one on the left in this photo…

So I’m going to be altering this book cover, or in my case, art journal cover, as this particular book is one that I am going to use for that purpose, but first I wanted to decorate the cover! I used this hardback sketchbook. I think it might be a Derwent sketchbook but there is no label on it any more so I can’t be sure. It is also approx A4 size (21.0 x 29.7cm, 8.27 x 11.69 inches). BTW I am also doing some weird watermark experiments and this one didn’t turn out as I wanted it to so I don’t know what happened but it is what it is and I haven’t the energy to redo it, so bear with me.
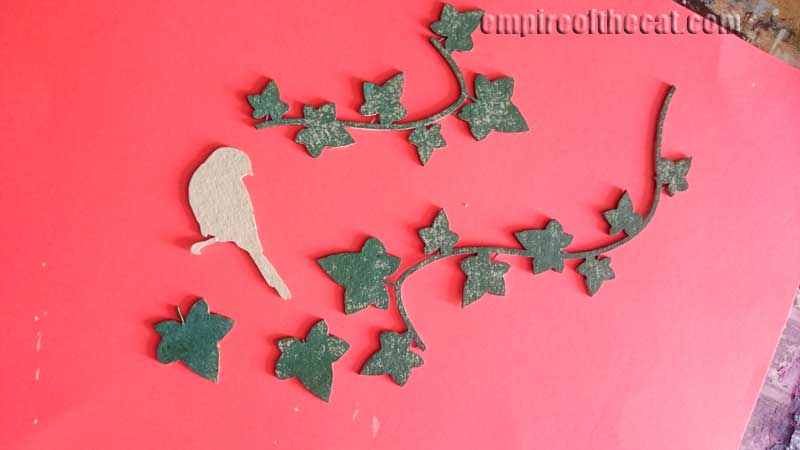
As this is one of my April DT posts I also used this chipboard set – Collage Frame Birds & Ivy from GSL – which I had originally thought of using on something else (this tag) but while it did fit on that enormous tag if I turned it on an angle, I felt like it was a bit of a waste to put it on a tag. I wanted to use it on something I would see often so what better than to put it on an art journal cover which I would see every time I used the journal! I cleaned off the edges and then painted it with white gesso.
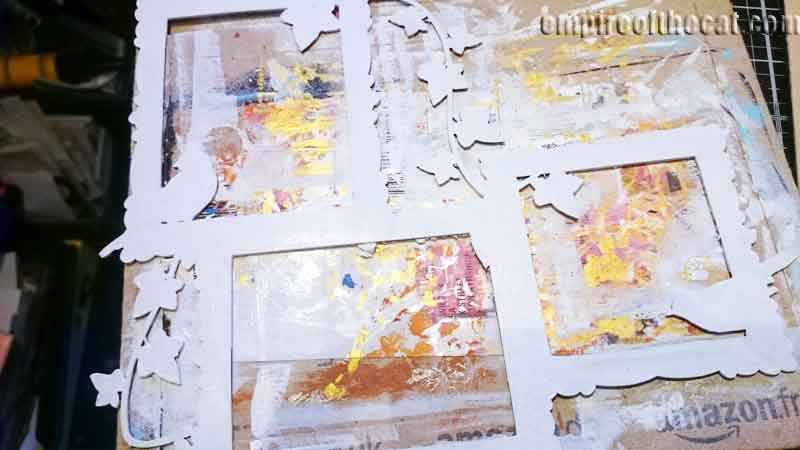
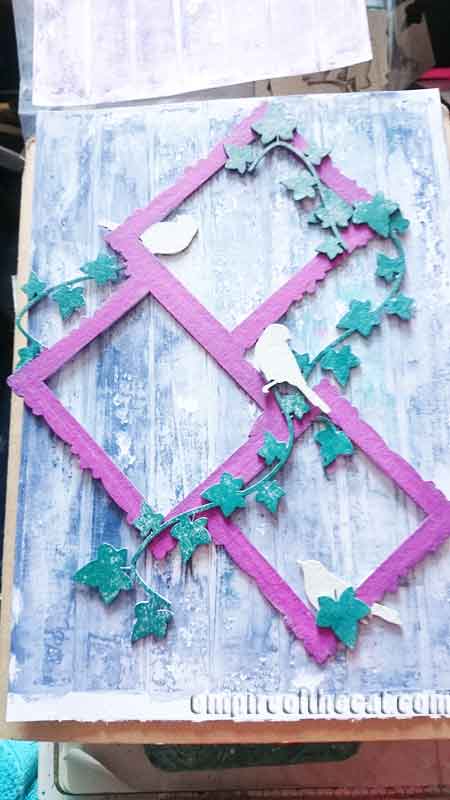
Once it was dry, I painted it with Paperartsy Fresco Chalk Paints in Byzantium and the leaves in Archival Library Green. Here’s how it looks against the sketch cover – just a final check of the position to make sure it fits the way I want it to.
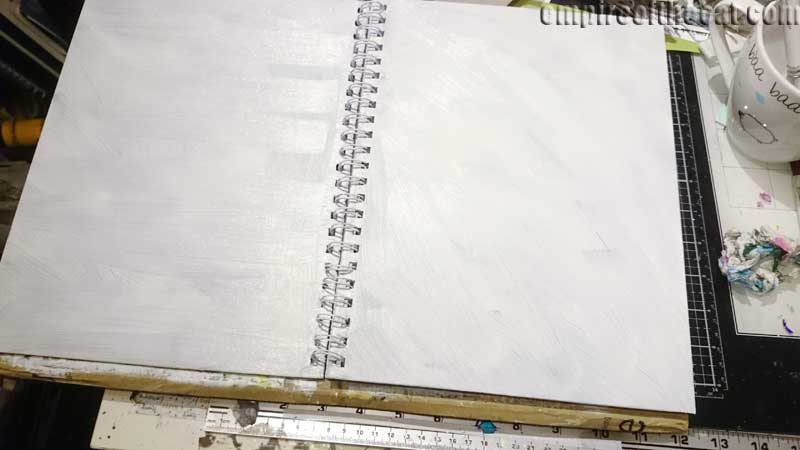
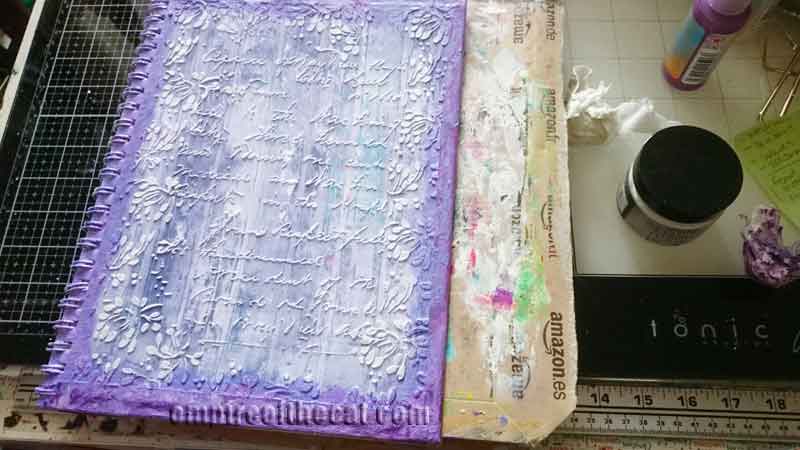
Then I painted the sketchbook cover with white gesso and left it to dry.
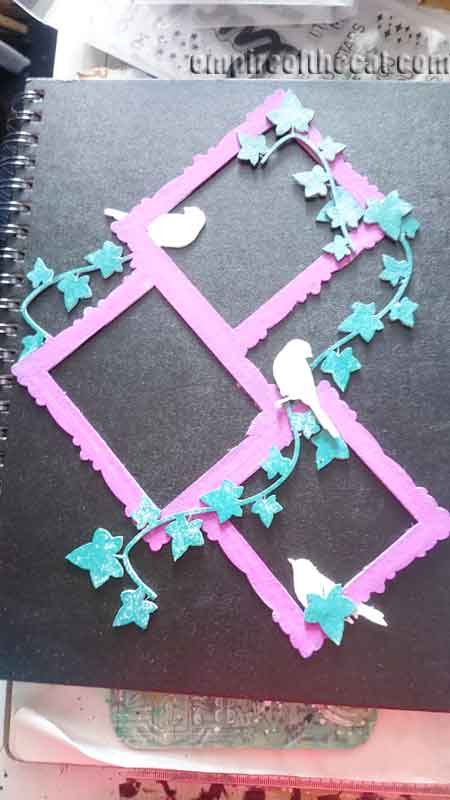
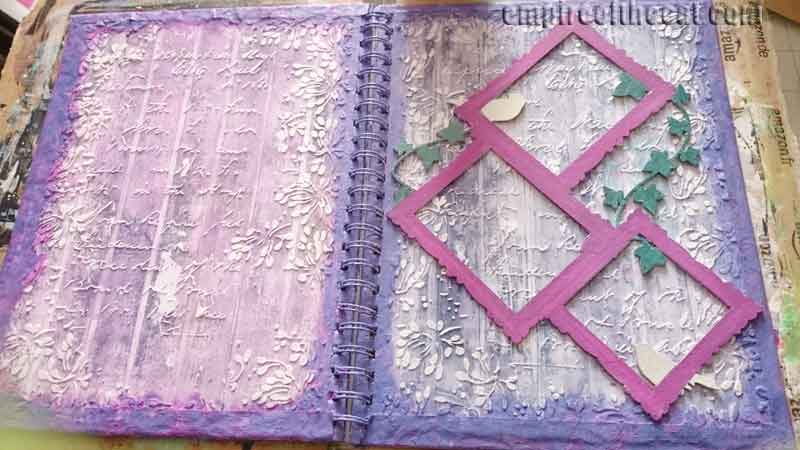
And now we get to my gelli print plan for this cover. They are not the same colour, but they are in the same colour family, and the technique used to make them creates a wood plank background that looks a little weathered and distressed, which I love. Here’s what the painted frame looks like on the front cover piece – loving the colours!
I distressed the edges of both pieces a little and then glued them both on to the sketchbook cover using collage medium.
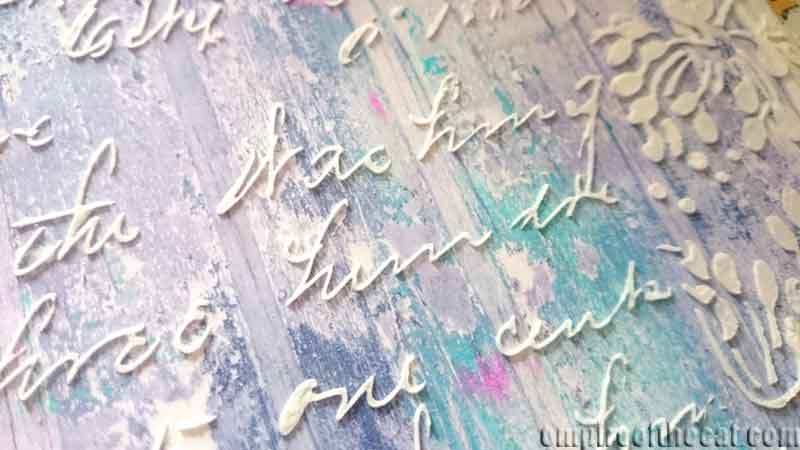
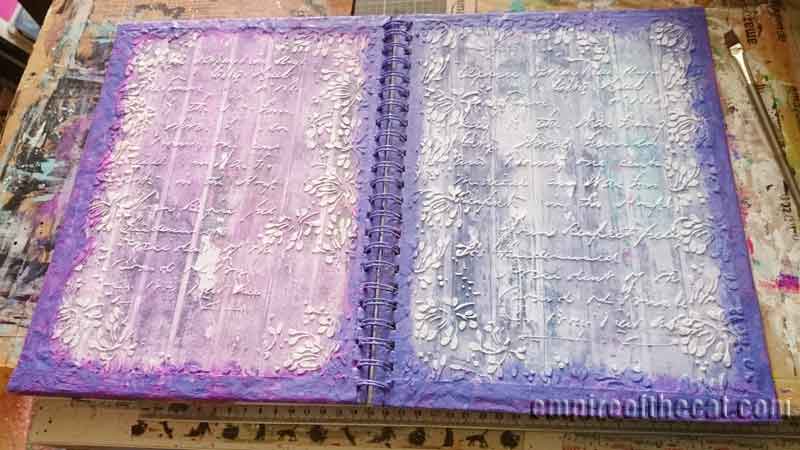
To add more interest to the background, I added some texture paste through two different stencils from Finnabair’s collection. The script stencil is from her new collection. I think it’s called Read My Letter or something like that. The leafy stencil around the edges is from last year and it’s called Wild Berries. Honestly if I wasn’t so set on used the chipboard frame I think I would have been happy just to leave it like that with the white texture paste stenciling!

Here’s a closer look at the scripty word stencil – just look how fine the script is!
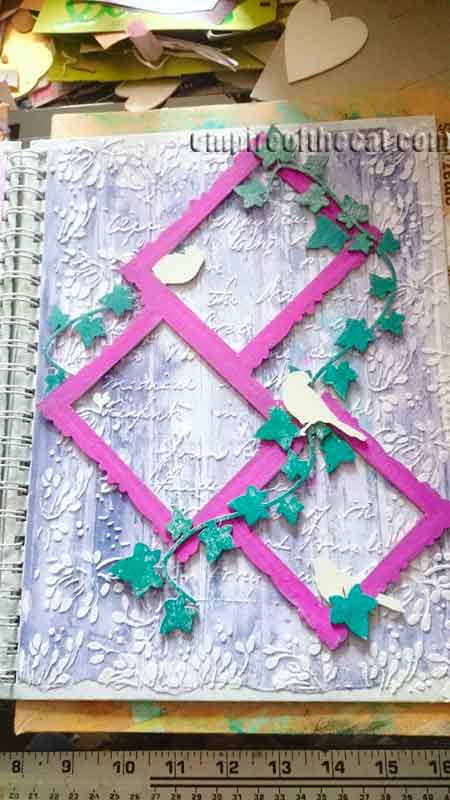
And here’s how it will look with the chipboard frame over the top
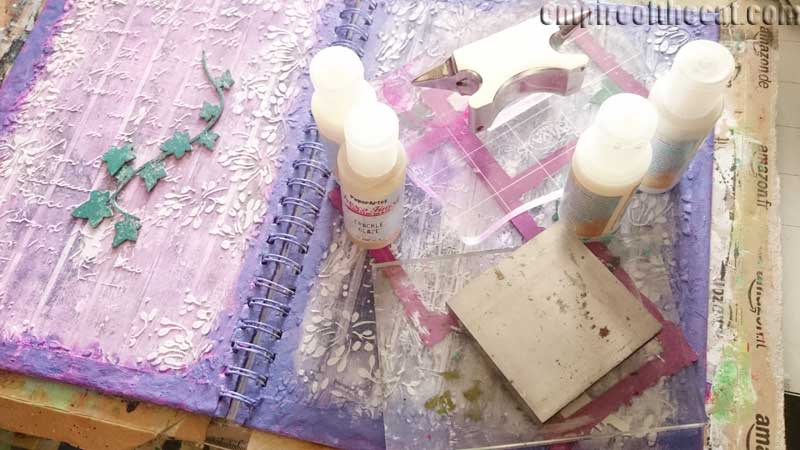
I decided I didn’t like the white edges that show through at the edges of the paper, so I decided to cover it up using another gelli plate tape technique. First I needed to make some prints so I used this gorgeous mix of purple acrylics.

And I used this stencil which is another new one from Finnabair, called Dandelion, to pull some prints, which I will use in something soon.

So when you are done making prints, your gelli plate probably looks a lot like mine right? So you could just clean it off with some of that really-more-precious-than-gold-at-the-moment hand sanitiser… or you could pull the leftover paints using some regular sellotape. It’s super easy to do, and all you have to do is wait till the paint is all dried, and then cover it with strips of sellotape. Make sure you really press it down firmly, burnish it a little with your hand, and then pull it up.

Here’s a closer look at one piece of the painty tape. This one is a bit patchy but still useable, or you can press it down again on another area with more paint then pull it again. You will end up with tape that is covered in the dried paint layers from your gelli plate. If you were using multiple layers or stencils, you could also pull up some patterns from the plate.

Here’s another example of you can expect to pull up. These were done last year during the 30 Days of Gel Printing Challenge. I still have some of these tapes but the colours aren’t right for this book cover.

Anyway back to the project at hand… so these lengths of paint covered tape are no longer sticky since the sticky side is covered in paint, so in order to use them, you have to glue them on. I had enough of them to edge both the front and back covers. You can see the front cover has the tapes attached already and on the back cover, the tapes are being held down while they dry.

So after applying all the tapes, I didn’t like the “clean” look of the edges, even though that was what I was aiming for lol and so I ended up painting around the edges with more Fresco paint in a combination of purple shades, just using my fingers instead of a paintbrush.
Here’s a look at both the front and back covers – I did have to use a small paintbrush to touch up the edges under the spiral binding since my fingers are not that small!
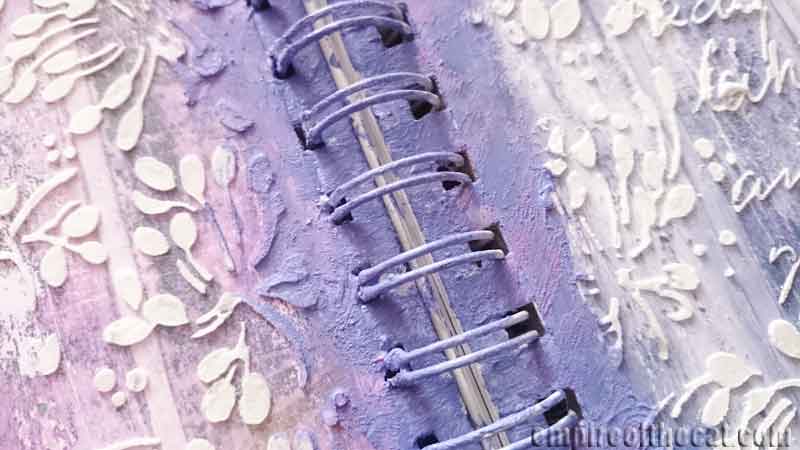
Here’s a closer look at the spine, looking very gritty and textural, just the way I like it.
It was now time to adhere the chipboard to the cover and I did this using soft gel and to ensure that it stayed in place while it was drying, I put some heavy objects on top to hold everything down.
This little frame comes with extra birds and extra ivy, both of which I wanted to add on top once the frame was attached to the cover.
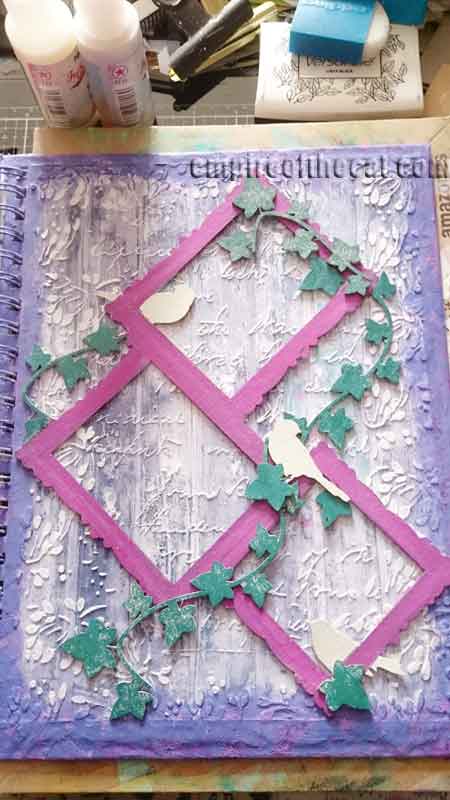
Once the frame was attached it looked like this, so now all I needed to do was plan out where to put the extra bird and ivy pieces that I wanted to use.
I positioned the bird in the middle between the other two birds, and added the ivy pieces on top and bottom to create one long winding piece from top to bottom, with the two single leaves in front of the two lower birds, to look as though they were perched there on the ivy leaves.
I glued them down using more soft gel and some heavy weights to hold them in place while they dried.
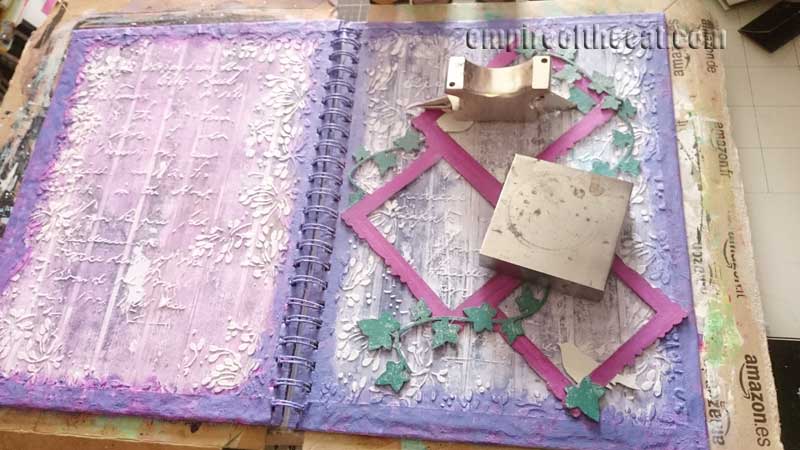
Make sure to leave plenty of time for the glue to dry and it will hold everything in place beautifully, but until it is dry, be careful not to move anything accidentally! Here’s my finished frame layout.
I felt like my cover could use some words so I used some of these Finnabair word stickers and stuck them on the frame.

Since these stickers are a creamy light colour, I wanted to make them blend in a little better, so I painted them with the same paint as I used on the frame, only diluted a little with some water to allow the text to show through.
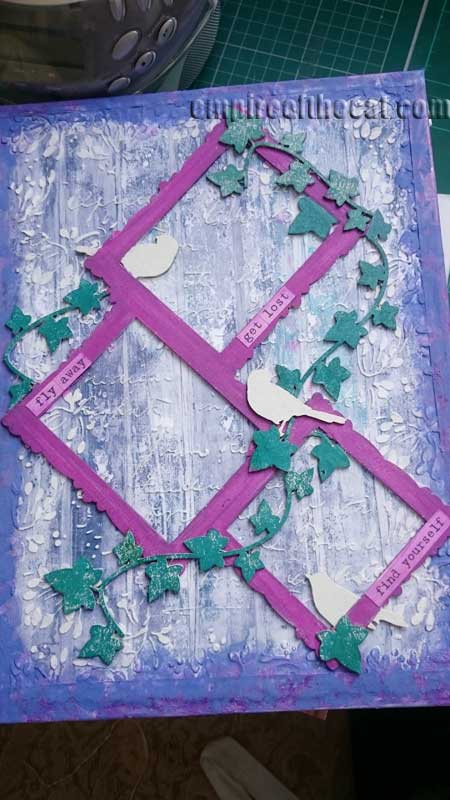
And that was my art journal cover finished and ready to use!

I hope that you found this tutorial useful and inspiring, if you are looking for ideas for your own book covers. Please let me know in the comments and don’t forget to look for the magic!

Challenges
Mini Album Makers Challenge – March – extended through April.
Creative Artiste Challenge #59 – mediums used gesso, collage medium, soft matte gel, fresco chalk paints, texture paste, heavy body acrylic, archival ink
A Vintage Journey – It’s Gelli Time – gelli backgrounds using peeled paint technique and edges using tape technique 🙂 If I get time I hope to do another project using the image transfer technique which I love doing (when it works lol)
PROJECT RECIPE:
Collage Frame Birds & Ivy
A4 notebook (or book of similar dimensions)
White gesso
Collage Medium
Soft Matte Gel
Fresco Chalk Paints – various
Archival Ink – Library Green
Texture paste
Gelli print backgrounds (already made)
Finnabair word stickers, stencils
From Stash: technically the gelli print backgrounds, Sellotape,
I started something new for April:
Since we are all stuck inside and can’t leave the house, I thought I would try and do two things:
1. use this time to finish any unfinished projects
2. use as much recycled materials as possible (I do this a lot anyway) but also not to buy new stuff!
So, with that in mind, I will note the above on any posts, if applicable.
UNFINISHED PROJECT – NO
RECYCLED MATERIALS – NO but used gelli backgrounds from my stash that were made 6 months ago.


Oh my goodness Elle! what a great project using up things and adding new things. I enjoyed reading all of your clever techniques – the pasted stenciling is gorgeous and all the gelli prints are wonderful! thanks so much for sharing with us at A Vintage Journey! xx
Wow, what a beautiful sketchbook cover! I love all the texture that you created and the stencilling looks so amazing ?. Thanks so much for joining us at A Vintage Journey with the gelli prints and also at Creative Artiste with all the mixed media that you used! Wishing you a happy weekend and keep well! Hugs, Jo x