

Hey friends!
I have another card to share with you tonight – this one is one that I just finished today and thought I might not get to post tonight due to thunderstorms but it seems to have calmed down and so here we are, with this card:


Inspiration
I took my inspiration from an Altenew class called Beautiful Details, which is one of their Level 2 classes, and just happens to be one of my favourite classes. It is one that purchased before I even thought about AECP as everything that was shown in the preview video was just so beautiful! Each lesson in the class features a different technique or medium to add those special details to your card and I was inspired by the idea of using a stamp set in a different way to what was intended and by stamping using Tombow markers!
Overview of my card process
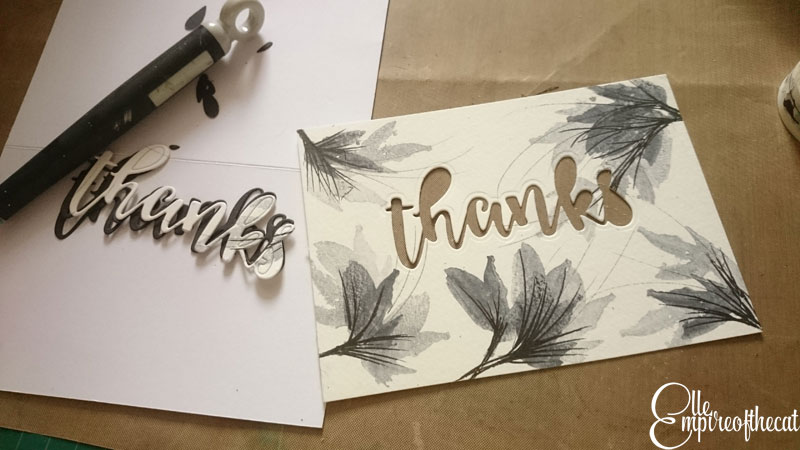
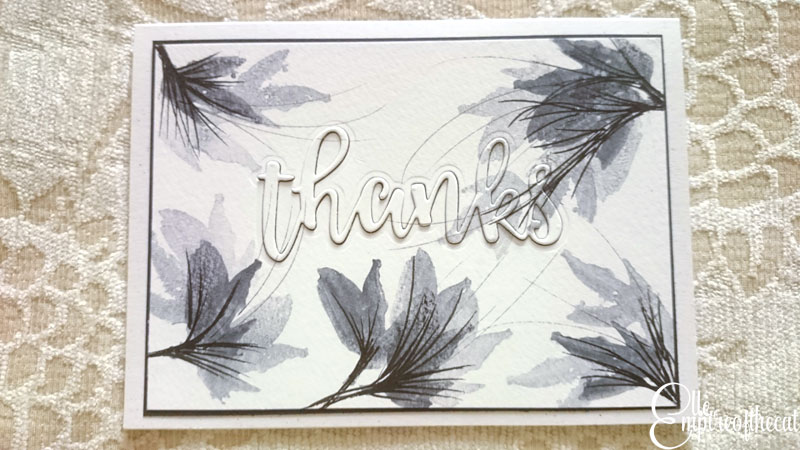
So I am using the Painted Roses stamp set from Altenew and some Tombow ABT brush pens in black and purple and stamping out various stamps from this set, using first, second and sometimes third generation stamping. As I said above, this stamp set is called Painted Roses but as you can see, I am not making roses!

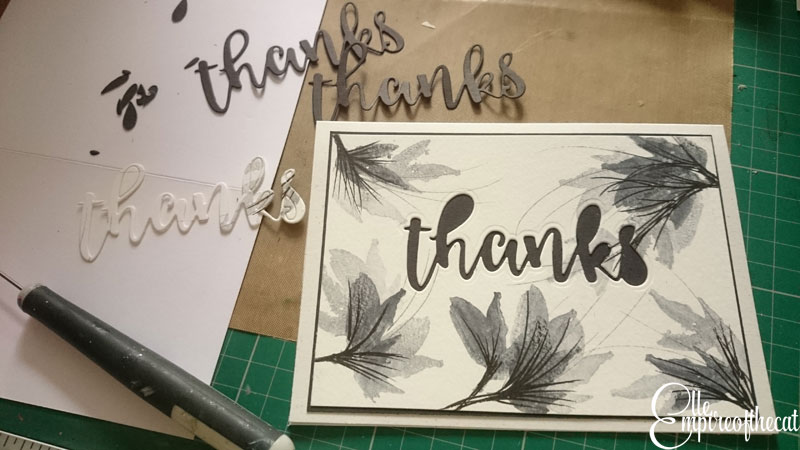
I created three different stamped images on watercolour paper, two with the black and one with the purple, using one piece of watercolour paper. The paper was cut in half and then one half was cut in half again, so they are basically 1 x A5 and 2 x A6 sizes. Then I used the Altenew Script Words 2 die to cut out the word “thanks” twice from black card and then very carefully from one of my A6 backgrounds as you can see below.
I had decided to use the inlaid die cutting technique to add the “thanks” sentiment to my card rather than stamping a sentiment on it because it was more subtle and I didn’t want to draw too much attention away from the beautiful details of my watercolour stamping. In order to make my card, I used some black cardstock behind my watercolour panel that was just 1mm bigger all round. Then I mounted the panel on to a card base made from Altenew Spicy Yogurt cardstock, which is one of my favourites. Once that was done it was time to start placing the die cut word into the space, starting with the two black die cuts first and finishing off with the one that was cut from the watercolour panel.
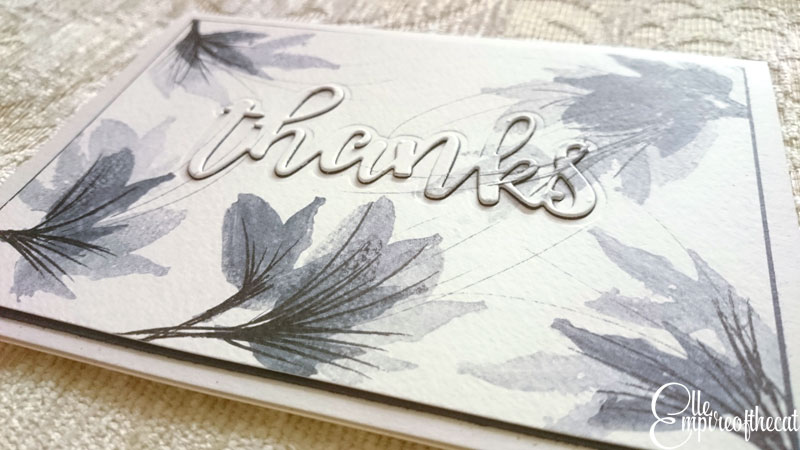
I took extra care when placing this top layer on to make sure that the wispy pen lines on the background were lined up perfectly.
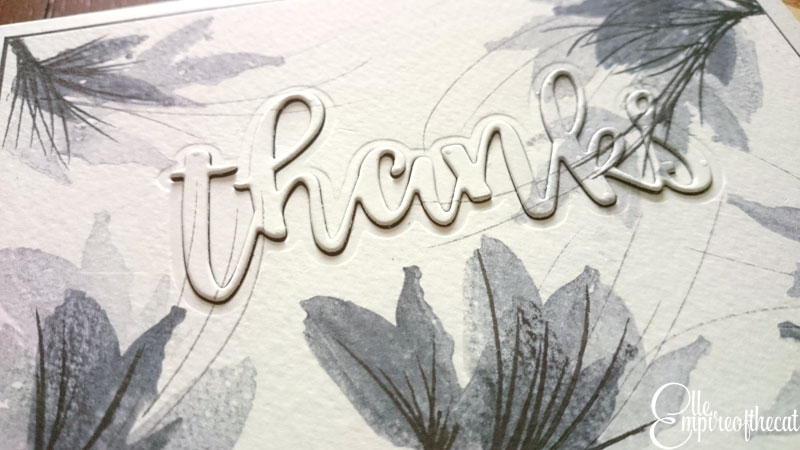
Having the black cardstock underneath adds a bit of a shadow depending on what angle you view the card at, making it more, or less, obvious.
Thoughts
Well as I said, this is one of my favourite classes, so I loved making this card. It also reminds you to think outside the box and look at your supplies differently ie use them in ways other than intended. I love doing this as it opens up a whole world of possibilities. Not only that, but this class is filled with beautiful projects that have such beautiful details, some of them quite labour intensive but very rewarding, and of course, if you love doing it, it’s not really work! This is the 9th Level 2 class I have completed and so there is only one more class till I finish this level!
Altenew is currently holding a blog hop for their Altenew Educators called Altenew Educators “Giving Thanks” Blog Hop so I thought I would enter this card into the giveaway.

The theme of this hop is “Giving Thanks“; it was picked out by our very own Educator Terri Marie Koszler and here is what she has to say, “I think it would be a great idea if we could encourage people to make thank you cards which could be sent to Dr’s and Hospitals to thank them for all of their hard work during this global pandemic. They have all worked tirelessly to keep us healthy, often risking their own lives”.
What a great idea! Only yesterday I spoke to a courier who was dropping off a package and she told me she had 209 packages to deliver before 9pm! That was one courier working in one area, and she had eight hours to get that done! A thank you card is the least we could do to show how much we appreciate them.
As always, I hope you enjoyed reading about this card and that you find inspiration from it. 
Challenges
PROJECT RECIPE:
Altenew – Painted Roses stamp set, Script Words 2 die, Spicy Yogurt cardstock
watercolour paper
Tombow Markers
Nuvo Deluxe Adhesive
Sakura Micron black pen
From stash: black card scraps
FYI Here’s a list of all my Class posts for Level 2:
.Beyond Basic Backgrounds
.In the Mood for Color
.With A Twist
.Creative Watercolor Media
.Polychromatic
.Beautiful Details You are here
.Color Your Day
.Impressive Heat Embossing
.Magical Marker Techniques
.Masking Unleashed


This turned out beautiful! I see I already left a comment here but now I am here as AECP coordinator and your cheerleader, YAY!! You did a fabulous job!
Thank you for entering your work to the AECP assignment gallery.
This is gorgeous! Thank you for linking this up to the Giving Thanks Educators Blog Hop and Linky Party!
This is such a great card technique and love your card! How exciting to be close to completing Level 2 and having gone through the program, I agree, it’s so much fun it’s not like work 🙂