

Hi crafty friends,
I am in full on Christmas making, Christmas cards, Christmas projects mode this week and so I have some Christmas gift ideas to share with you. I actually went into my art room with something totally different planned (Christmas cards) and somehow managed to produce these notebooks instead!

So here we go! I decided to make some custom notebooks for a few Christmas gifts in an annual exchange that I’m part of and I thought the notebooks would be easy to post, but a plain black notebook isn’t so exciting just on its own, unless it’s customised of course!

I have quite a few of these ruled notebooks as I also use them for bullet journalling, so I grabbed a couple of them off the shelf and started by painting the covers with black gesso, to give myself a good, primed base.

While that was drying, I sorted through my chipboards and selected a few that I might potentially use, keeping in mind the person for whom they were intended. I was actually talking to my friend last week about how much she loves fairies, so these Garden Fairies were the perfect choice for her, plus she mentioned that she had just purchased a mushroom stamp set to use on her cards, so I thought she might also love this Mushroom Shape set, so I put them both together and added the little seated fairy on top!

All that was missing was some words to add to the cover, so I pulled out my Tim Holtz dies and die cut MAKE A WISH using some old cereal box cardboard. I cut each letter twice and stacked and glued them on top of each other to give them some strength and dimension.

Once everything was glued down, I painted over everything with black gesso. You can see in the photo below that there are two notebooks, as I made a few of these at the same time. However, the second notebook will be covered in a separate post.

Then it was time for my favourite part of the process – the painting! I chose different colours for each of the notebooks that I was working on, and I tried to tailor each one to colours that the recipient liked. I used a combination of liquid acrylic paints and metallic acrylic paints. Then after all the paint was dried I went over everything with Metallique waxes to add highlights and additional colours to each cover.
 At some point I switched from lavender to purple and that was not my intention, but I guess I just got a little carried away with the painting lol. I use my fingers for the waxing as they are easier to clean than brushes, though you can use old paintbrushes for this job, or stippling brushes also work quite well.
Again I worked very organically on this project, adding elements on the fly and then painting them, thinking up words to put on the covers, then die cutting them etc. If you want a less organic approach, sketch out a plan for your notebook covers, assemble all your elements in advance, and then glue them down and gesso them all at the same time. But as I started off with the intention of making Christmas cards, I did not have a plan in place for notebooks but was still able to make it work!

So here’s how it looked when it was very purple, and here is how it looks now that I changed back to lavender! I love the purple but I think my friend will appreciate the lavender a lot more! I also used white nuvo drops to colour in the spots in the mushrooms, to make them more mushroom-like.
I hope you enjoyed this project and that it has given you some gift ideas for reasonably quick and customisable gifts that can be used all year round, but are perfect now for Christmas gifts that can be tailored to the recipient.
Till next time,

You can visit the GSL Cuts blog post here and links to the UK shop are in the Project Recipe below. Links to both shops can be found on their blog.
PROJECT RECIPE:
GSL Cuts – Garden Fairies Medium YB4, Mushroom Shapes D102B,
A5 clothbound notebooks
Finnabair Black gesso
Tim Holtz Alphanumeric dies
Finnabair Metallique Paints
Finnabair Liquid Acrylics
Finnabair Wax
Glue
Nuvo Drops
From Stash: cereal box cardboard
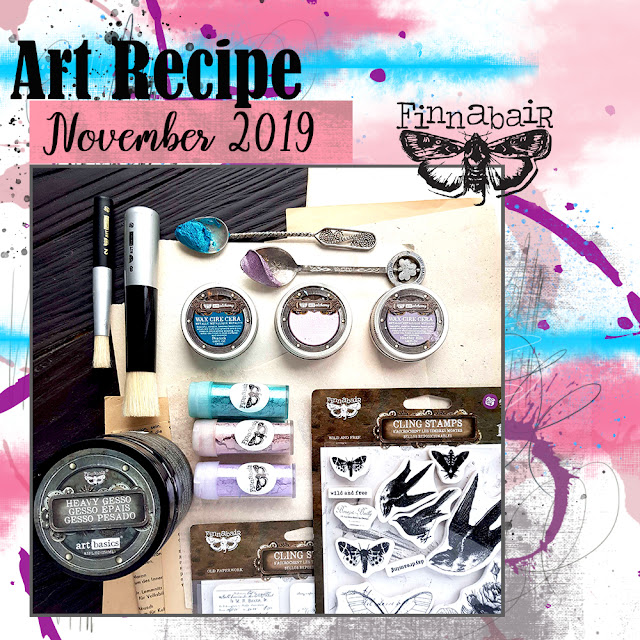
Because of the colours and products used, I decided to enter this notebook in the current Finnabair Art Recipe since it fit the brief. I used violet and pink colours and I used gesso and metallique wax.
Thanks for visiting today. Your comment is really appreciated.