

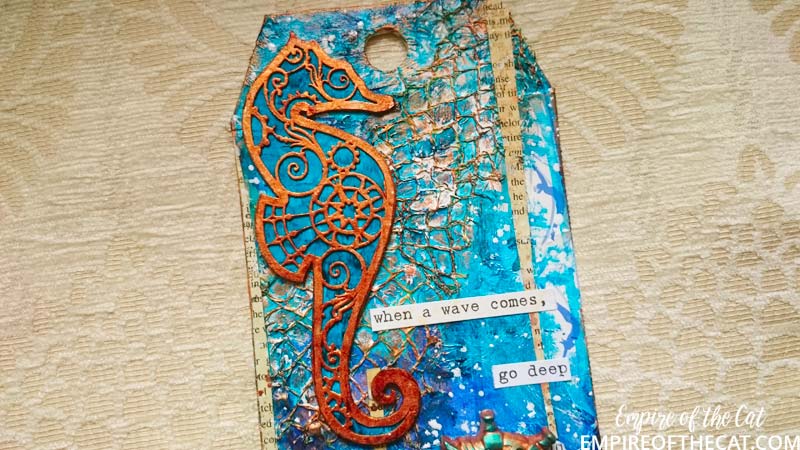
Hello again, hope you’re having a great day and the weather is being kind to you. I have this little (well actually quite large) tag to share with you, and a step-by-step showing how I put it together.
Click on the thumbnails for a closer look…
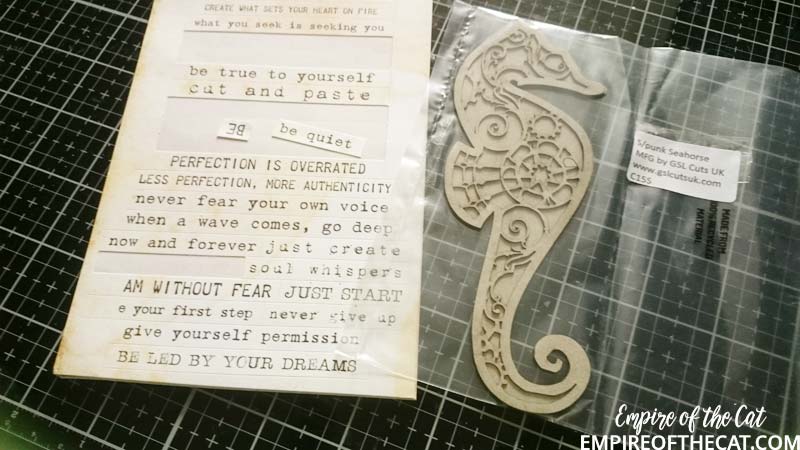
I was looking through my stash and waiting for something to leap out and shout “pick me, pick me” and it turned out to be this little steampunk seahorse chipboard that was calling to me to be featured. (This is a project that was created for a DT by the way.) So if I was going to use this little seahorse, what else could I put with it? I decided that I would use it if I could find some suitable words to go with it that were ready made so I didn’t have to go creating my own this time, and look – just what I needed was right there in these Finnabair stickers lol.
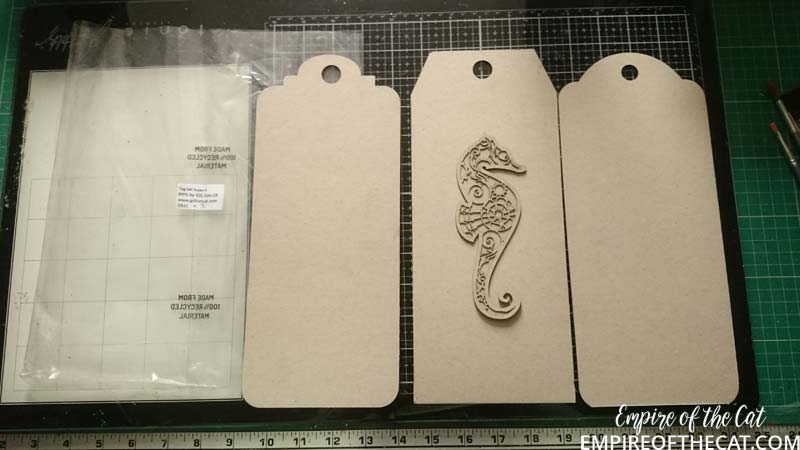
I knew it was going to go on a tag so I am using these XL tags which come as a set of three with different shaped tops. I had a Goldilocks moment trying my little seahorse on each tag to see which one was just right, before settling on this middle one.
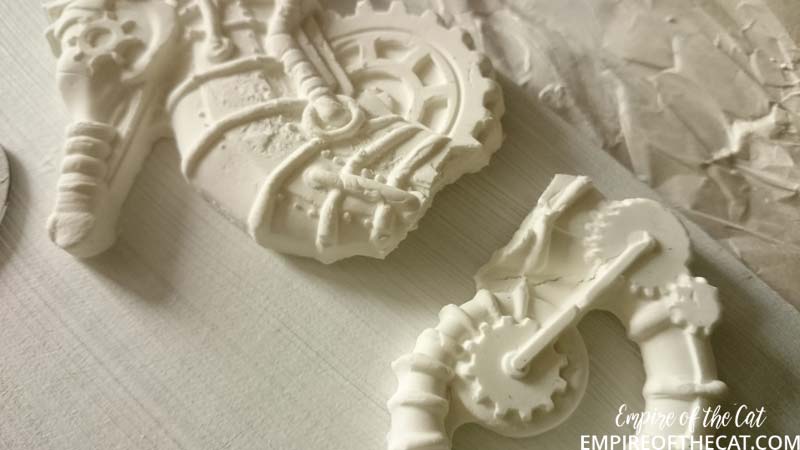
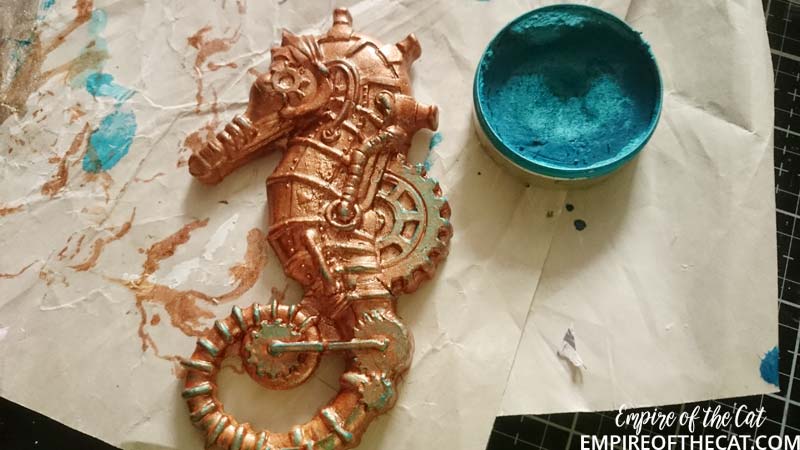
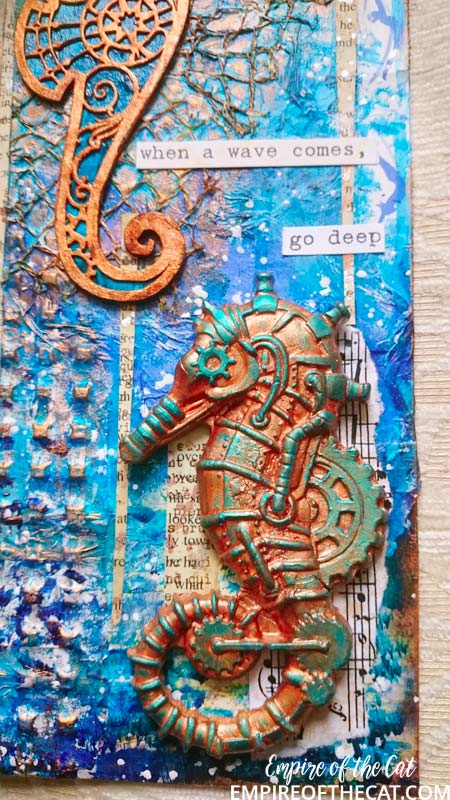
Since we are talking seahorses, I remembered this poor little guy. This one is made from a Stamperia mould which I made way back when I made this Augmented Octopus. I had left it sitting somewhere “safe” so it could dry safely and keep it flat, and then forgot it was there and dumped a pile of books on top of it, which snapped it in half. 🙁 So I thought I could fix him up and introduce him to his little steampunk friend on this tag.

After covering both seahorses and the tag with gesso, I pulled out some papers to make the background. Most of these I didn’t use but it is nice to have options right? The green paper on the left is awesome and is covered in seaweed and shells and even little swimming people, which would work with the “go deep” quote. The paper bag at the bottom is covered in thistles but they could pass for seaweed I’m thinking. Hmmmm…
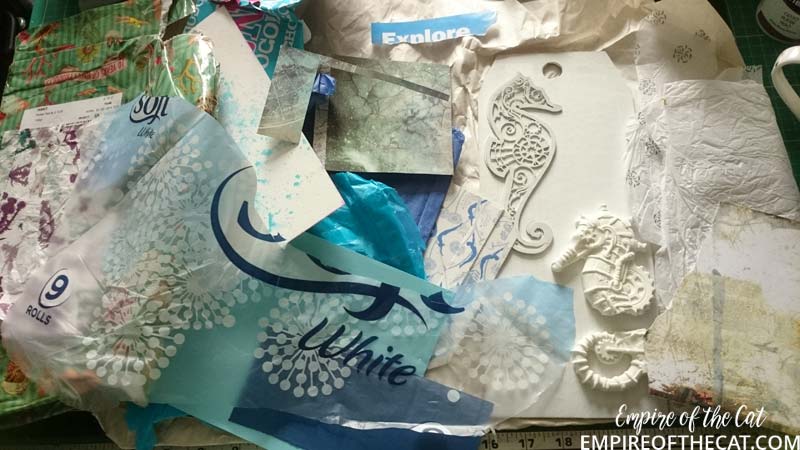
More options, including this bit of a Tesco toilet paper packet haha the things I hold on to, really! There is a fine line here between hoarding and having a stash.
OK I managed to narrow it down to these, a bit of scrapbook paper at the bottom, some blue tissue and a bit of amazon bumpy packaging. I stuck them all down with some matt medium.
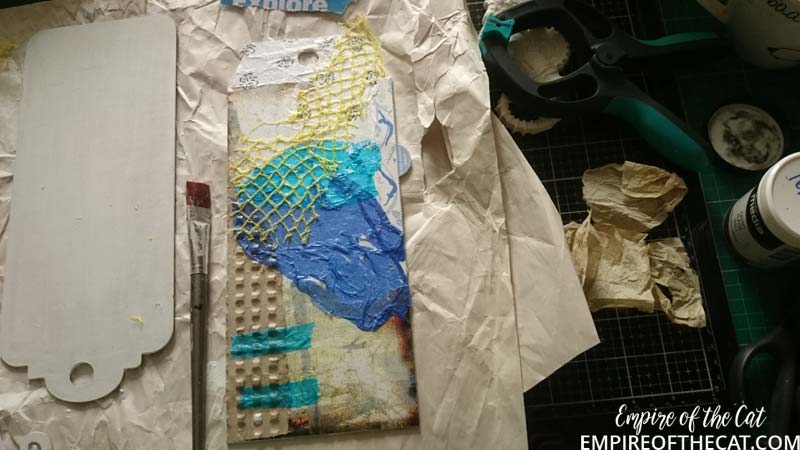
I’m also using this bit of yellow nylon/ plastic? netting from some lemons I bought, and down the right hand side these little people from a Pukka tea box as they kinda look like they are swimming. Oh, what’s that other tag on the left? Well that’s another project as I was working on two at the same time but you will have to come back on the 16th to see that one!
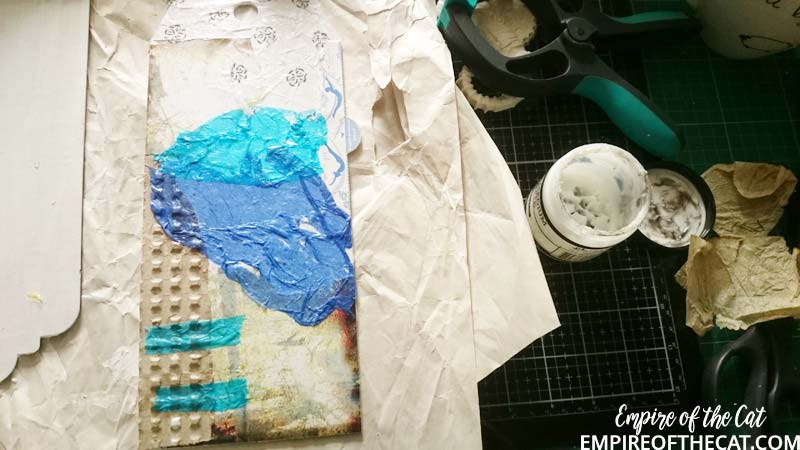
I painted the base of the chipboard seahorse with this lovely turquoise acrylic and dripped the rest of it down the tag. Then I mixed up a few acrylics together to get the colour I wanted for the top later of the chipboard seahorse and the plaster seahorse and painted them both.
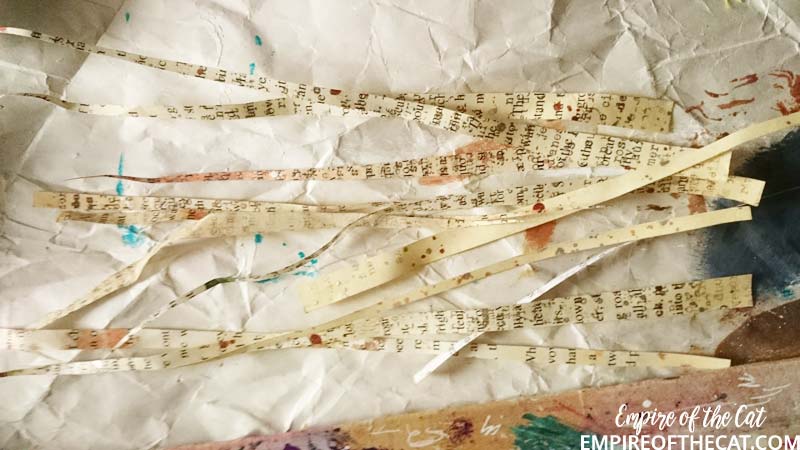
On my table, I still have these tiny slivers of book paper from the August birthday gifts so I added some of them too.
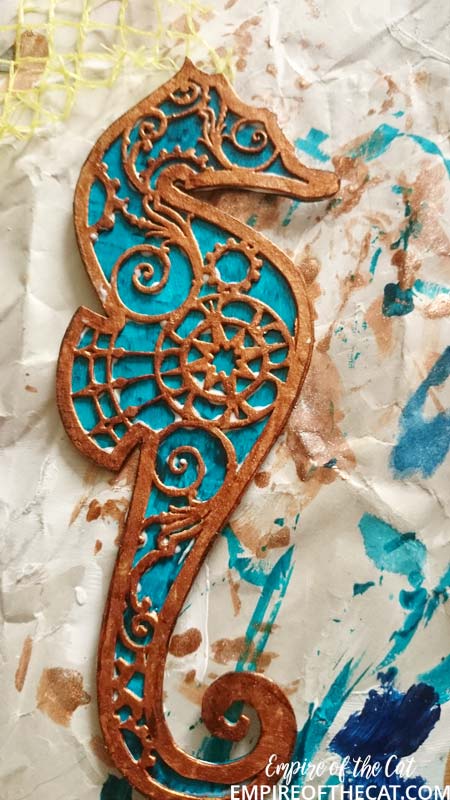
Here’s a close-up of the chipboard seahorse completed.
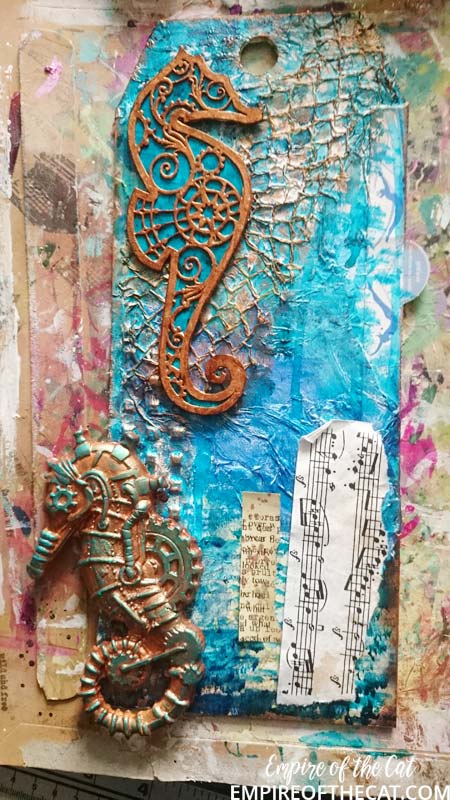
And here, I decided to add more collage underneath the plaster seahorse. These were also still lying around on my table crying out to be used.
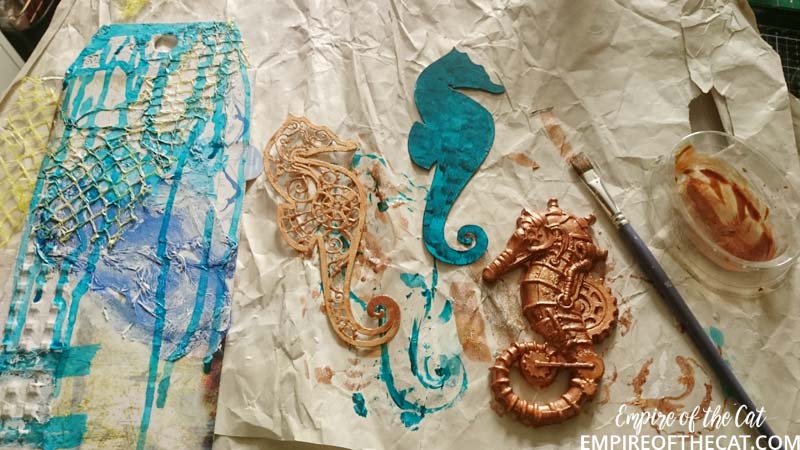
Some finishing touches – adding some of this Peacock wax to highlight.

And adding this copper wax to the netting and the chipboard seahorse.
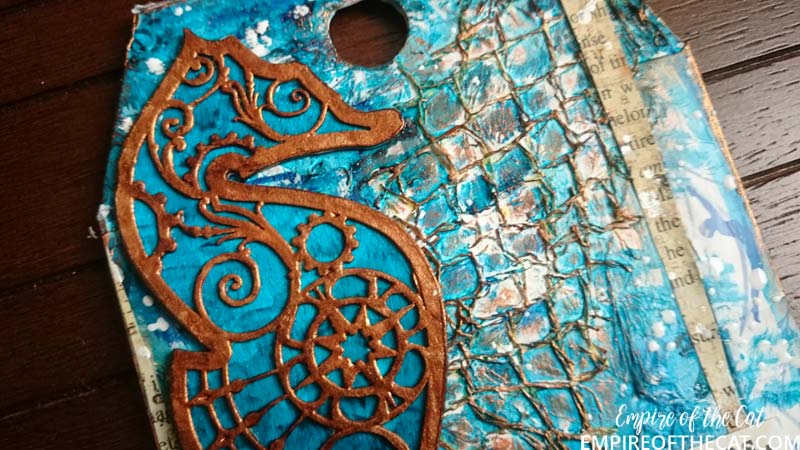
Here’s how he looks now next to the net.
Finishing touches
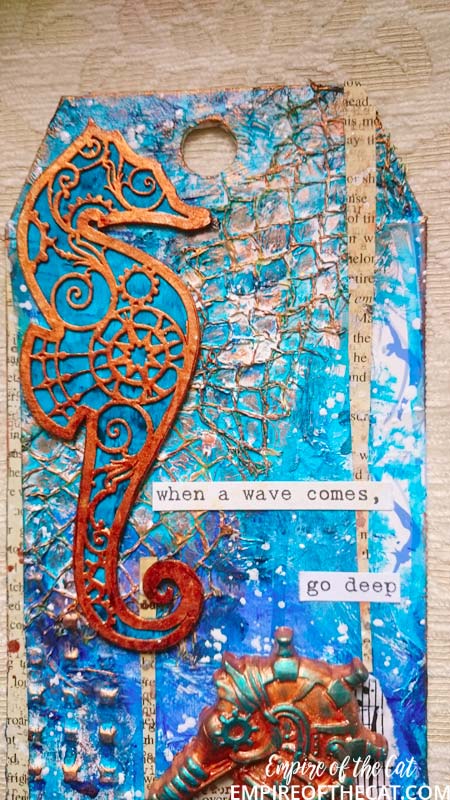
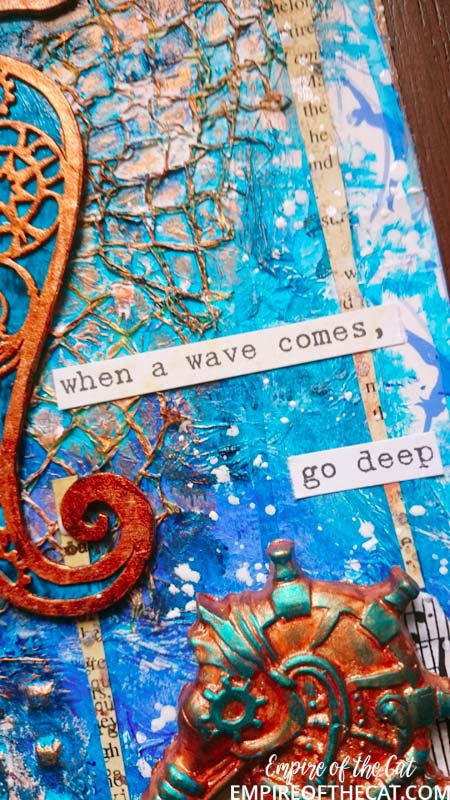
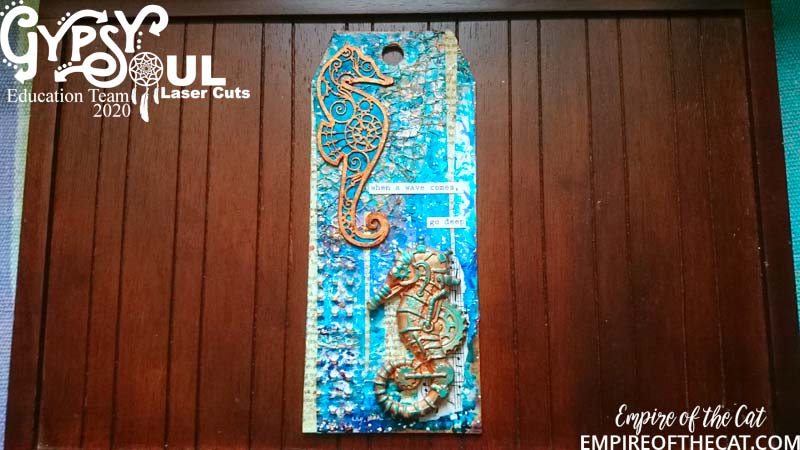
I used some strong glue to adhere the plaster seahorse to the bottom of the tag and regular craft glue to adhere the chipboard seahorse to the top. The final touch was to add the word stickers and call it done.
My camera wasn’t so happy with macro photography so these are a little out of focus at full size.
The Finished Tag
This project is one that I created as DT inspiration for GSL.
So pleased with how it turned out and had fun making it. Super happy to have given my little broken seahorse a home with his buddy. If you love seahorses, here’s another little project you might like.

Thanks for making it all the way to the end. Let me know what you think in the comments!

Challenges:
So as I mentioned above, this was a DT post for this month but I was very conscious of some specific challenges which did influence my choices ie colours and steampunk cogs and gears. Here are those challenges…
A Vintage Journey – Cogs, Gears and Texture – layers of paint and waxes on the seahorses, both have cogs and gears, layers of texutre on the background also 🙂
Countryview Challenges – Complementary Colours – blue and orange/copper
Creative Artiste – Challenge #64 – multiple mediums
Sandee & Amelie’s Steampunk Challenges – September – steampunk seahorses
Project Recipe:
Steampunk Seahorse C15S
Super X Tag set D92C
Collage materials from stash – magazine papers, tissue paper, book pages, scrapbook paper, amazon packaging, Tesco fruit net etc
Stamperia plaster seahorse mould
Acrylic paint and waxes (various)
Finnabair word stickers
White gesso
Matte Medium


Your coggy seahorses, both 2D and 3D, are both delightful, and I love the bold contrast with the textured ocean background. Fabulous tag (and I’m so glad that 3D seahorse made a full recovery from his book accident!). Thanks so much for joining us on A Vintage Journey.
Alison x
The background you created is beautiful, great colors and lots of nice texture. Thanks so much for added your project to our challenge at A Vintage Journey!
Ann x
Love your tag! The two seahorses look great together!
Thank you for playing along with our September challenge over at Country View Challenges.
xx Evelyn
Beautiful – I love this! Thanks for joining Countryview Challenges and good luck! Hugs Rachel xx
Wow! what lovely seahorses, perfect for our gear challenge! Wonderful colors to give your ocean and patina effects and a wonderful sentiment! thanks for joining us at A Vintage Journey!
We would have never known about that poor seahorse if you had not told us, i’m so happy to see he was mended with love as he sits so well upon your delightful tag. Beautiful colours and texture, that seahorse die really is amazing. Thank you so much for sharing your tag with us @ Creative Artiste.
Creative wishes Tracey (DT)
A strong message and a beautiful duo! Happy the broken little seahorse found his friend, and the background is fabulous. Thanks for playing along with us at Creative Artiste Mixed Media challenge!
Thank you for sharing with us at SanDee&amelie’s Steampunk Challenges. I love your seahorses, the brilliant blue color and good texture. Hugs, Susan
Stunning tag! You created so much amazing texture with all that mixed media and the steampunk seahorses with the cogs are so beautiful with the shimmery lustre ?. Thanks so much for joining us at A Vintage Journey and also playing along at Creative Artiste! Hugs, Jo x